Can Your Own Food with the Boiling-Water Method
Canning food is safer and simpler than you might think. Learn how with this step-by-step guide to the basics.
If you can boil water, you can can your own food. The most popular method of canning, also known as the boiling-water method, requires very little specialized equipment and can be done in as little as 10 minutes.
Follow this step-by-step guide to canning using the boiling-water method from Sherri Brooks Vinton’s Put ‘Em Up! Fruit and discover how simple it is to safely and easily preserve your harvest (watch the video here!). Then, put your new skills to use with a recipe for a classic peach jam that celebrates the sweet flavor of summer in every spoonful.
To learn even more in-depth information about canning, read these Canning FAQs (and Answers!) for Beginners from The Put ‘Em Up! Preserving Answer Book. Grab your apron, creativity, and CAN-do attitude – and get ready to start a lifetime of preserving!
Materials:
- Canning jars and lids
- Canning tongs
- A large pot that is at least 3 inches taller than the tallest jar you will be using
- Canning rack
- Bubble tool (or plastic knife, wooden skewer, or chopstick)
- Canning funnel or small ladle
- Lid lifter (optional)
Directions:
- Wash. Wash everything with hot, soapy water and arrange it on a clean towel near the stovetop, if possible. Separate your lids from your jars, washing them as well, and put the lids in a small heatproof bowl.
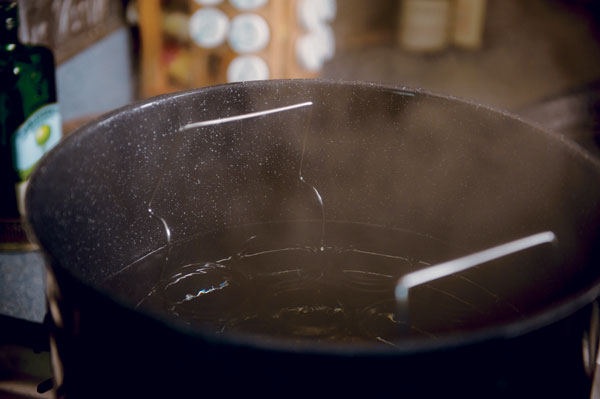
- Load the canner. Put the rack (or whatever “false bottom” you’re using) in the pot, add the glass jars, and fill with enough cold water to fill and cover the jars. Set the loaded canner on your burner, cover it, and bring the water to a boil. If the water in the pot starts to boil before you are done preparing your recipe, just turn it off and keep the lid on it. You can bring it back to a boil as you near completion of the recipe. You never want to have to wait for your canner to heat up — always have it ready and waiting for your recipe to be complete.
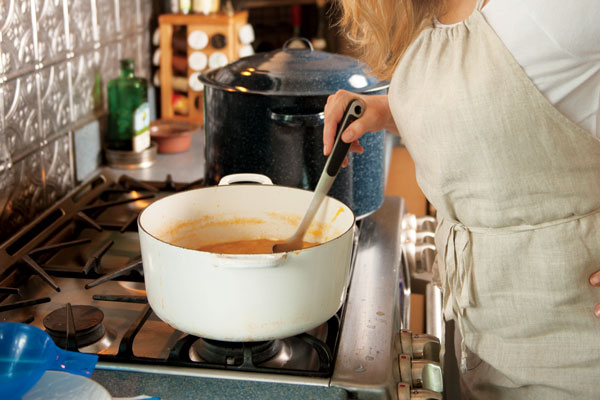
- Prepare your recipe. Now is the time to cook the recipe you will use to pack your jars.
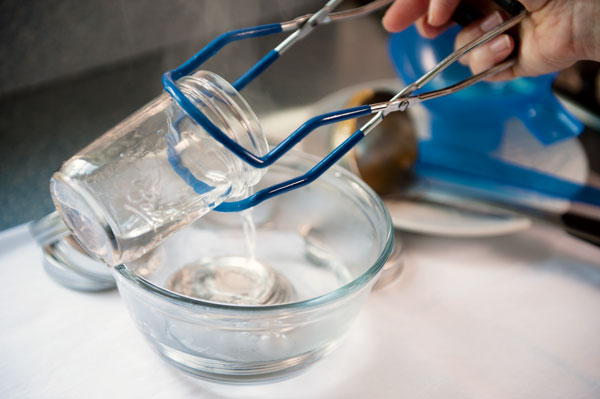
- Remove the jars. Using canning tongs, remove the jars from the boiling water. Add the boiling water in the first jar to the bowl full of lids to soften their rubber gaskets. Empty the water from the rest of the jars back into the canner and set the jars, right side up, on your work surface for filling.
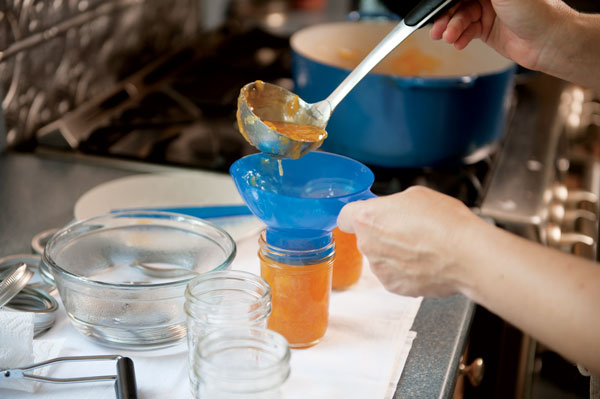
- Ladle the hot food into the jars. Use a canning funnel or small ladle to keep things neat. Fill the jars as indicated in your recipe — each will specify the necessary “headspace,” the distance between the top of the food and the top of the jar. Be sure to allow the proper headspace to ensure that the jars seal well.
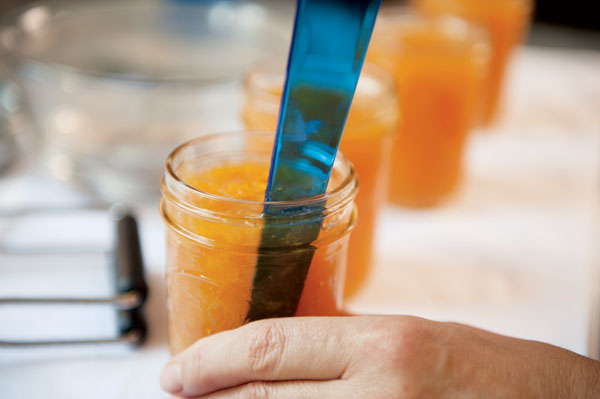
- Release trapped air. Swipe your bubble tool around the inside of the jar to release any trapped air. Top up, as necessary, to maintain the correct headspace.
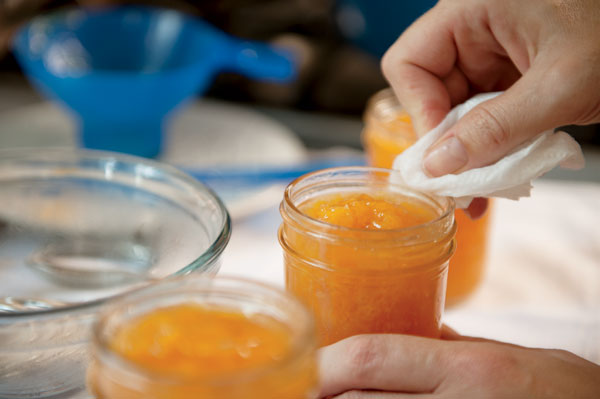
- Clean the jars. Use a dampened paper towel to wipe the rims of the jars. A clean rim will give your lid a better chance of sealing properly.
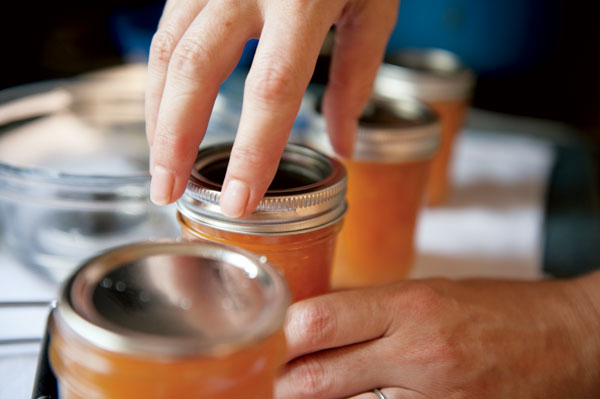
- Lid the jars. Lift lids from the hot water, one at a time, and center them on the jars.
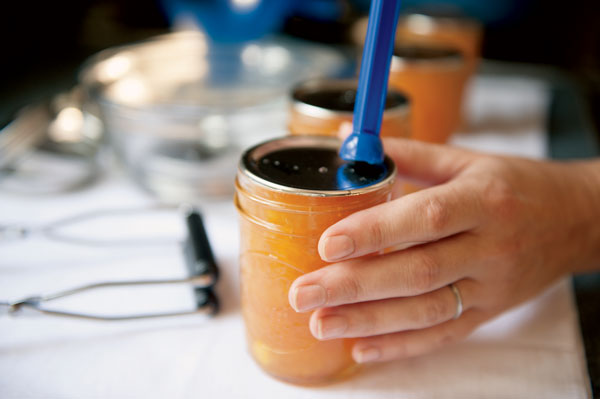
- Apply the rings. Screw the rings on the jars until just fingertip-tight, meaning that you use just your fingertips to twist on the rings. Do not wrench the lids on any more than this or you will prevent the venting action of the two-piece lid that is necessary for a good seal.
- Process the filled jars. Submerge the filled jars in the boiling water; they should be covered by at least 2 inches. Put the cover on the pot. Keep the jars submerged in boiling water for the amount of processing time indicated in the recipe.
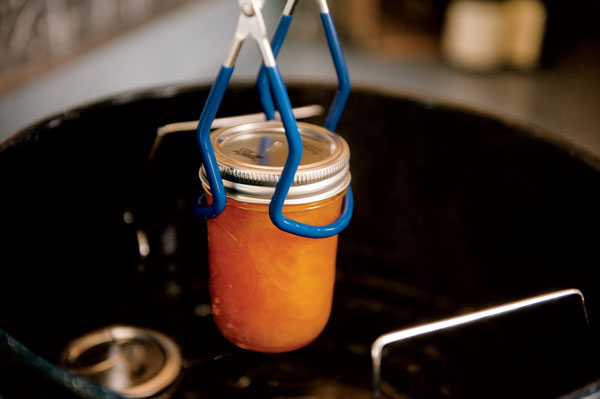
- Rest the jars. When the processing time is over, turn off the heat, remove the lid of the pot, and let the jars sit in the hot water for 5 minutes.
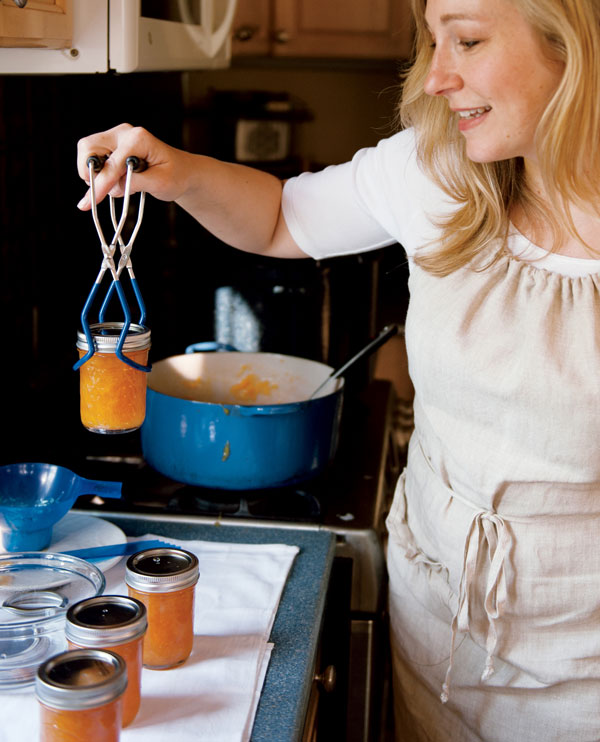
- Remove the jars. Using canning tongs, remove the jars from the hot water to a towel-covered surface. Allow the jars to cool for 24 hours.
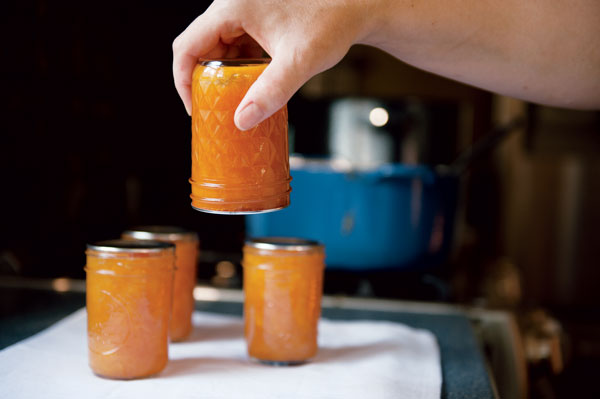
- Check the seals. Check the seals on the jars by removing the rings and gently pushing up on the edge of the lids. Alternatively, you can turn the jars upside down, over a bowl if you prefer. If the lids stay secure, the seal is complete.
- Store. Wipe the jars and store, without rings (which can trap moisture), in a cool, dark place for the amount of time indicated in your recipe.
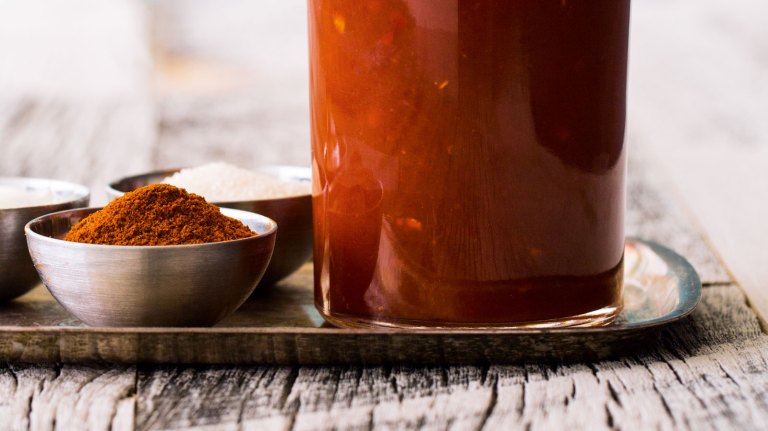
Classic Peach Jam
Capture the flavor of this fresh summer fruit with this classic recipe for a sweet, golden peach jam. Makes about 6 cups.
Ingredients:
- 1 cup water
- ¼ cup bottled lemon juice
- 4 pounds peaches
- 4 cups sugar
Directions:
- Combine the water and lemon juice in a large nonreactive pot. Peel, pit, and slice the peaches, adding them to the lemon water as you go.
- Bring the mixture to a boil, then reduce the heat and simmer for 10 minutes to soften the fruit, crushing it with a potato masher if you prefer a smooth-textured jam.
- Add the sugar and stir to dissolve. Continue to simmer until the gel stage is reached, about 30 minutes.
- Remove from the heat. Allow the jam to rest for 5 minutes, giving it an occasional gentle stir to release trapped air; it will thicken slightly. Skim off any foam.
- Preserve using the boiling-water method. Ladle the jam into clean, hot 4-ounce or half-pint jars, leaving ¼ inch of headspace between the top of the jam and the lid. Store in a cool, dark place for up to 1 year.
Excerpted and adapted from Put ‘Em Up! Fruit © by Sherri Brooks Vinton
This creative cookbook will inspire you to not only preserve summer’s fruit harvest, but use your homemade jams, jellies, and conserves in a host of sweet and savory dishes. Whip up a batch of peach jam and marinate shrimp kabobs in it overnight, or suspend grapefruit in lavender honey for an enticing custard topping. The flavors are fresh and contemporary and the instructions are thorough and easy to follow. Putting up — and serving up — the harvest has never been so delicious.

Related Reads
Featured Titles
-
Put 'em Up!
-
The Preserving Answer Book
-

Freeze Fresh
-

The Beginner's Guide to Dehydrating Food, 2nd Edition
