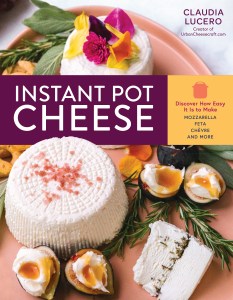
Make Herb Lovers’ Cheese Wheels in Your Instant Pot
Your Instant Pot is the ideal tool for making cheese with ease in your own kitchen. Try it with this super-easy recipe for Herb Lovers’ Cheese.
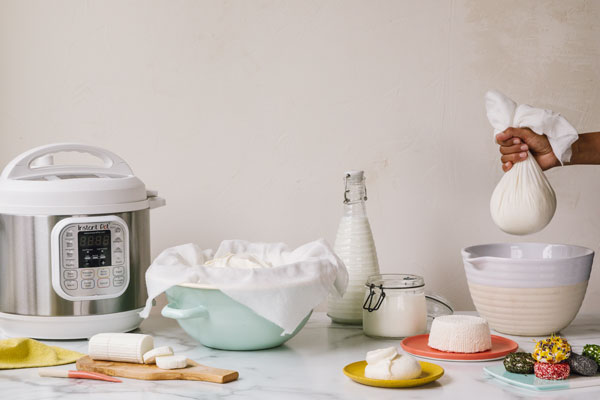
Having an Instant Pot is like having your own mini dairy facility at home. After all, it provides a sturdy, stainless steel, temperature-controlled, insulated environment. Some of the issues that beginners may come across — such as inconsistent heat when making yogurt, milk boiling over when making paneer, scorching at the bottom of the pot, and other irritations — are eliminated when using the Instant Pot strategically.
Why Make Cheese in an Instant Pot?
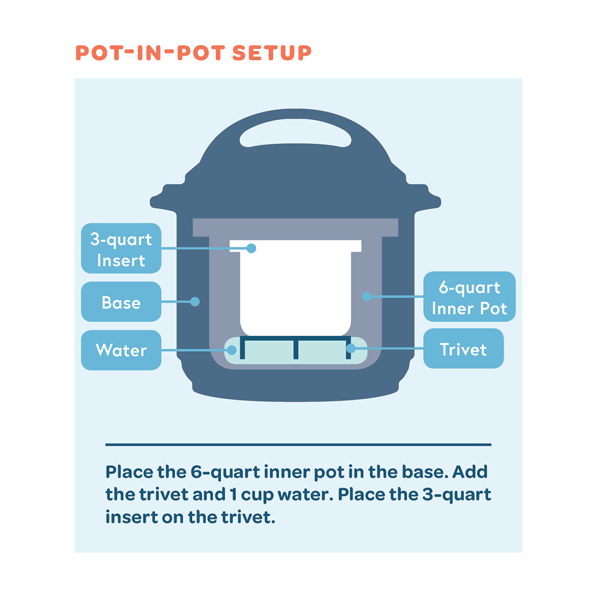
It’s easy. With the lid on and my pot-in-pot technique, you can avoid constant stirring and watching like a hawk to avoid scorching or boilover mishaps.
It’s convenient. The pot acts as a portable electric burner when your stove is in use or if you want to set up in another room. You can make cheese anywhere there’s a plug!
It saves time. Thanks to cooking under pressure, it’s possible to make some cheeses in half or even in a quarter of the time required in traditional cheese making.
It saves money. No need to purchase a separate stainless steel cheese-making pot, because you already have one!
It’s accurate and consistent. Maintaining a constant temperature is the key to a successful outcome with cheese. The preset temperatures provide the perfect environment for culturing and ripening milk or cream.
It can even pasteurize milk! The Yogurt/Boil and the newer Sterilize settings allow you to lightly pasteurize milk if you are new to raw milk or would prefer to pasteurize it yourself.
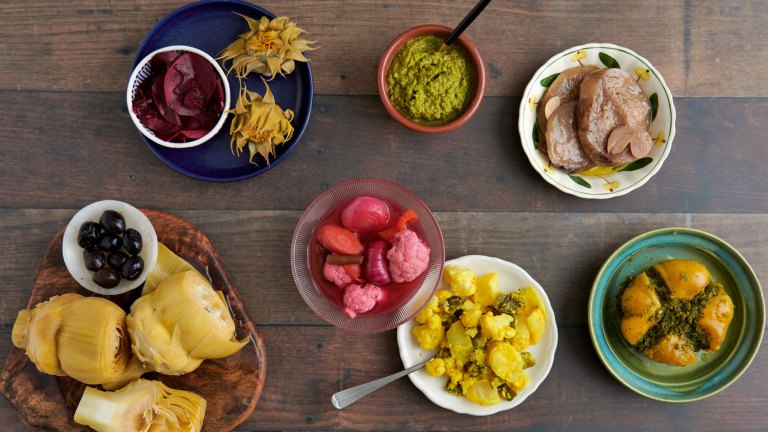
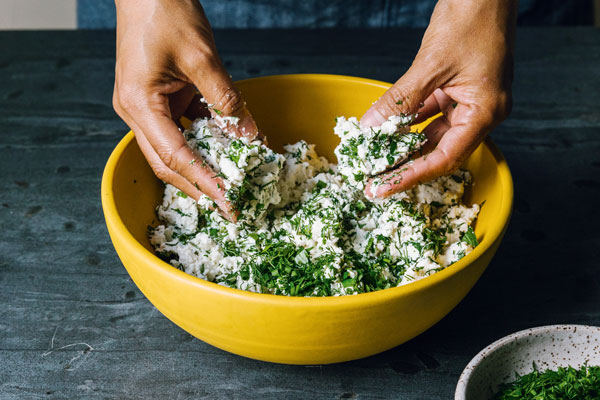
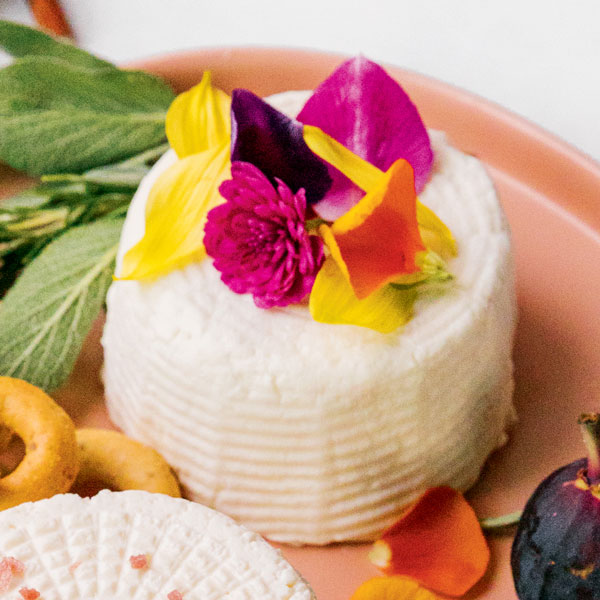
Herb Lovers’ Cheese is super easy to make. It’s similar to a ricotta but has a deeper flavor, thanks to the buttermilk and the herb infusion. This is an herb lovers’ cheese because we’re infusing it with fresh herbs under pressure and adding herbs and edible flowers at two additional points. Make two or three variations using your favorite herbs. Topped with honey, these mini wheels are a delight! That said, if you prefer a tasty blank canvas, feel free to omit all herbs.
Before you begin
Technical Note
How long is a sprig of herbs? If you chopped it up, the herbs would fill a tablespoon. Whole sprigs are nice to use for infusions because you can easily remove them from the hot milk.
Milk Talk
No other milk can replace the coagulation action of acidic cultured buttermilk. Ultra-pasteurized and lactose-free milk will also work in place of the whole milk. The result may turn light tan in some batches, but the flavor and texture will be the same.
Safety Check
Inspect the lid of your Instant Pot to make sure the sealing ring is properly placed, that there are no food particles blocking the vent, and that all moving parts are moving freely and as they are meant to move.
Herb Lovers’ Wheels
YIELD: ABOUT 10 OUNCES
ACTIVE TIME: 15 MINUTES
TOTAL TIME: 1½ HOURS
Ingredients
- ½ gallon whole milk, preferably not ultra-pasteurized
- 2 sprigs of herbs, for infusing: sage, rosemary, thyme, lavender, or 10 or so fresh rose petals
- 2 cups cultured buttermilk
- ¼ cup fresh lemon juice
- ½ teaspoon cheese salt, or ¼ teaspoon sea salt, adjust to taste
- 3 tablespoons fresh herbs and/or edible flowers; same as above or petals from pansies, marigolds, and calendula flowers, optional
- Honey, optional for drizzling
Equipment
- 6-quart Instant Pot with trivet
- 3-quart stainless steel insert
- Large colander and bowl(s) for collecting whey
- Cheesecloth
- Ramekins or cheese molds for shaping
Directions
Heating the Milk: Pour the whole milk into the 3-quart insert and add the herb sprigs.
Excerpted from Instant Pot Cheese © Claudia Lucero.

Related Books
-
Cooking with Whey
-

Homemade Yogurt & Kefir
-

Perfectly Creamy Frozen Yogurt
-

Fresh Flavors for the Slow Cooker
-
One-Hour Cheese