Easy Fermented Foods: Curtido and Chickpea Miso
As more of us turn to cooking from the pantry, making fermented foods is more than just practical — it nourishes body and soul.
In the way life was, not too long ago, the way we ate had more to do with accommodating our lifestyles than it did with maximizing nourishment. Every ingredient was available any time we needed it, and for some, wholesome, ready-to-eat meals could be easily picked up or purchased. Now, in this time of staying at home, the usual ways we feed and nourish ourselves are being challenged. We are at home eating simple meals prepared at home with ingredients from our pantries and freezers. As we settle into weeks of this, my hope is that people are finding comfort and even beauty in these new home cooking routines. I also hope that to these new rhythms and routines, some of you have added fermenting.
Making fermented food is practical. When I knew we needed to try to avoid frequent trips to the store, we bought a lot of fresh greens that we ate quickly, but we also bought root vegetables and cabbage. If you are going to the market less often and want to keep vegetables fresh and loaded with nutrition, simple lactic acid fermentation is a wonderful tool. A fermented-food larder also gives you the convenience of having foods on hand that you can use to throw together great flavors quickly.
But maybe more importantly in the time of COVID-19, making fermented foods can be nourishing to body and soul. Our bodies need the live microbes in these ferments because a healthy gut and a strong immune system go hand in hand. And something as primal as preparing food with our hands is grounding, and rare in our modern world. You would be surprised how relaxing it is to squish warm beans or salty cabbage leaves with your fingers. If you have kids, they love the process of pounding and mashing food for fermenting and watching over the next few days as it transforms.
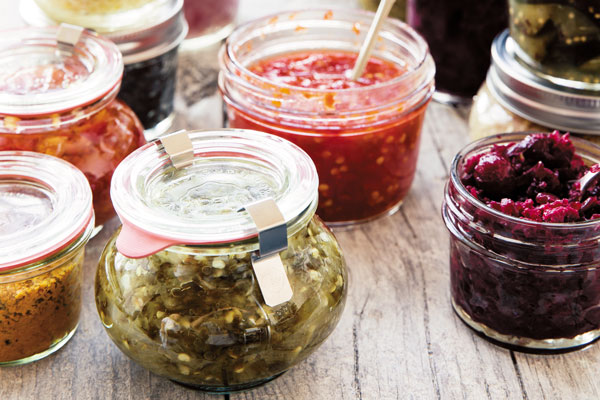
At the beginning of our extended time at home, my granddaughter and I made a huge batch of sauerkraut and curtido, which is a mix of vegetables, herbs, and spices (the recipe is included below). It is one of our staples because it is so versatile and adds pizzazz to add to any meal. Now that our tender fresh vegetables are gone, curtido still brings freshness, probiotics, and many of the same comforts to our dishes as dolloping a bit of salsa on a sandwich, salad, soup, mac and cheese, eggs, or beans.
There, I said it. Beans. I know that dried and canned beans have flown off nation’s store shelves as people have stocked their pandemic pantries. As a writer and food educator, I also know that most people don’t usually eat beans in quantities that match the amount they’re buying. But beans are another accessible entrée into the world of fermentation.
In fact, one of the easiest ferments ever is one you might already be doing. Soaking dried beans for 18 to 24 hours before cooking them not only softens them but involves a mini-lacto-fermentation of its own. As the beans soften, bacteria start the process of breaking down carbohydrates. At the same time, phytic acid — a compound in legumes you may have read about that can decrease the body’s ability to absorb nutrients — leaches into the water. By changing your water once or twice in an 18–24-hour soak, you will effectively remove this anti-nutrient. That’s it. Just put your dried beans in a bowl with enough water to cover them, and let the lactobacillus, water, and time do the rest.
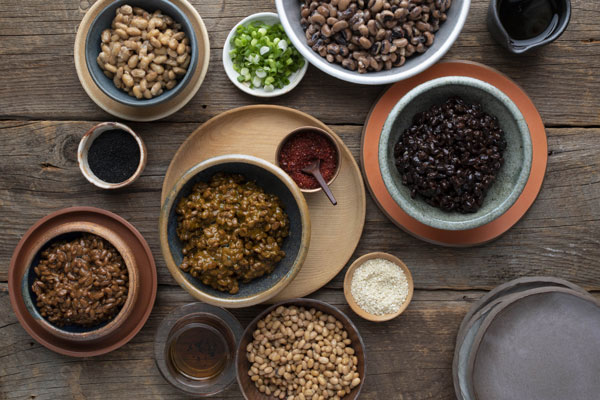
Anyone with an abundance of beans in their pantries can also try making a simple miso. Miso is a delicious fermented bean paste that uses the enzymes in koji to get the process going. I share a recipe here that specifies chickpeas (canned or dried), but you can substitute any canned bean. Koji is a superpowered flavor-maker that can be easily ordered online (try here and here). It also makes an easy, tasty fermented oat milk. (Let’s face it: probably all of us have some dried oats in our cabinets, too.)
Be well, my friends. This too shall pass. In the meantime, I wish you the small pleasures of a slowed life and fermented foods.
Curtido
People who are adamant that they don’t like fermented vegetables liked Curtido. Curtido comes from the Spanish verb encurtir which means “to pickle.” It is traditional in the cuisine of El Salvador, and it’s as versatile in Latin American food as sauerkraut is in Eastern European. It’s a refreshing replacement for pico de gallo salsa, which helps your efforts to eat local, as it’s not reliant on the fresh tomato that travels 900 miles to get to your winter table.
Yield: about 1 gallon
Ingredients
- 2 heads (about 6 pounds) cabbage
- 1–2 carrots, thinly sliced
- 1 onion, thinly sliced
- 4 cloves garlic, grated
- 2 tablespoons dried oregano, crumbled
- 1 tablespoon chile pepper flakes
- ½ teaspoon ground cumin, or to taste
- 2½ tablespoons unrefined sea salt
Equipment:
- Fermentation vessel, 1 gallon or larger
Directions
- To prepare the cabbage, remove the coarse outer leaves. Rinse a few unblemished ones and set them aside. Rinse the rest of the cabbage in cold water. With a stainless steel knife, quarter and core the cabbage. Thinly slice with the same knife or a mandoline, then transfer the cabbage to a large bowl.
Add the carrot, onion, garlic, oregano, chile flakes, and cumin to the shredded cabbage.
Chickpea Miso
Chickpea miso has a mellow flavor and a pleasing light yellow color. It is a fantastic all-purpose miso and is ready when fairly young. The ratio of chickpea to koji is nearly equal. This miso can also be made as a chickpea-barley miso — simply replace the rice koji with barley koji.
Yield: about 6 cups
Fermentation/aging: 2 months
Ingredients
- 2 cups (350 g) dry chickpeas or 2 15-oz. cans of chickpeas (use same quantities if substituting other beans)
- 2½ cups (440 g) light Rice Koji
- ½ cup plus 1 tablespoon (150 g) salt, plus extra to prep the vessel and top the miso
- 1 tablespoon (16 g) unpasteurized miso
Directions
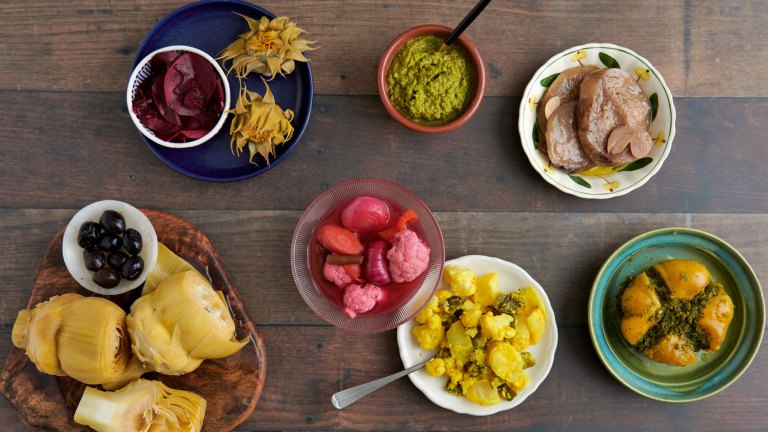
Curtido Excerpted from Fermented Vegetables © Kirsten K. Shockey and Christopher Shockey. Chickpea Miso Excerpted from Miso, Tempeh, Natto & Other Tasty Ferments © Kirsten K. Shockey And Christopher Shockey. Photo © Dina Avila.

2019 Foreword INDIES Winner
Best-selling fermentation authors Kirsten and Christopher Shockey explore a whole new realm of probiotic superfoods with Miso, Tempeh, Natto & Other Tasty Ferments. This in-depth handbook offers accessible, step-by-step techniques for fermenting beans and grains in the home kitchen. The Shockeys expand beyond the basic components of traditionally Asian protein-rich ferments to include not only soybeans and wheat, but also chickpeas, black-eyed peas, lentils, barley, sorghum, millet, quinoa, and oats. Their ferments feature creative combinations such as ancient grains tempeh, hazelnut–cocoa nib tempeh, millet koji, sea island red pea miso, and heirloom cranberry bean miso. Once the ferments are mastered, there are more than 50 additional recipes for using them in condiments, dishes, and desserts including natto polenta, Thai marinated tempeh, and chocolate miso babka. For enthusiasts enthralled by the flavor possibilities and the health benefits of fermenting, this book opens up a new world of possibilities.
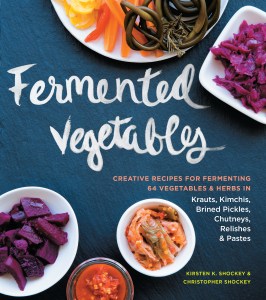
Master the techniques for making sauerkraut, kimchi, pickles, and other savory, probiotic-rich foods in your own kitchen.This easy-to-follow, comprehensive guide presents more than 120 recipes for fermenting 64 different vegetables and herbs. Learn the basics, and then refine your technique as you expand your repertoire to include curried golden beets, pickled green coriander, and carrot kraut. With a variety of creative and healthy recipes, many of which can be made in batches as small as one pint, you’ll enjoy this fun and delicious way to preserve and eat your vegetables.

Related Books
-

Fermented Vegetables
-
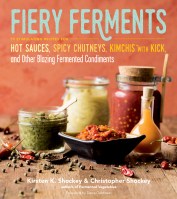
Fiery Ferments
-
Miso, Tempeh, Natto & Other Tasty Ferments
-
The Pickled Pantry
-
Cured Meat, Smoked Fish & Pickled Eggs

