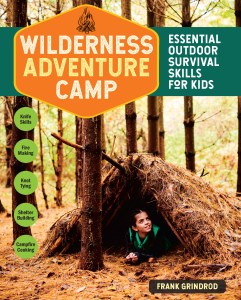
Camping? Make Your Own Wooden Spoon!
Planning a camping trip this summer? Test your carving skills by making a wooden spoon for your campsite.
This fun and functional project from Wilderness Adventure Camp by Frank Grindrod will leave both you and your kids with a sense of accomplishment and a good story (including a spoon as proof!) to share around the dinner table when you return home.
What You Need
- A piece of wood (seasoned pine, basswood, or birch work well)
- A knife
- A pencil or piece of charcoal
- Embers from your firepit
- A round stone about the size you want the bowl of your spoon to be
What You Do
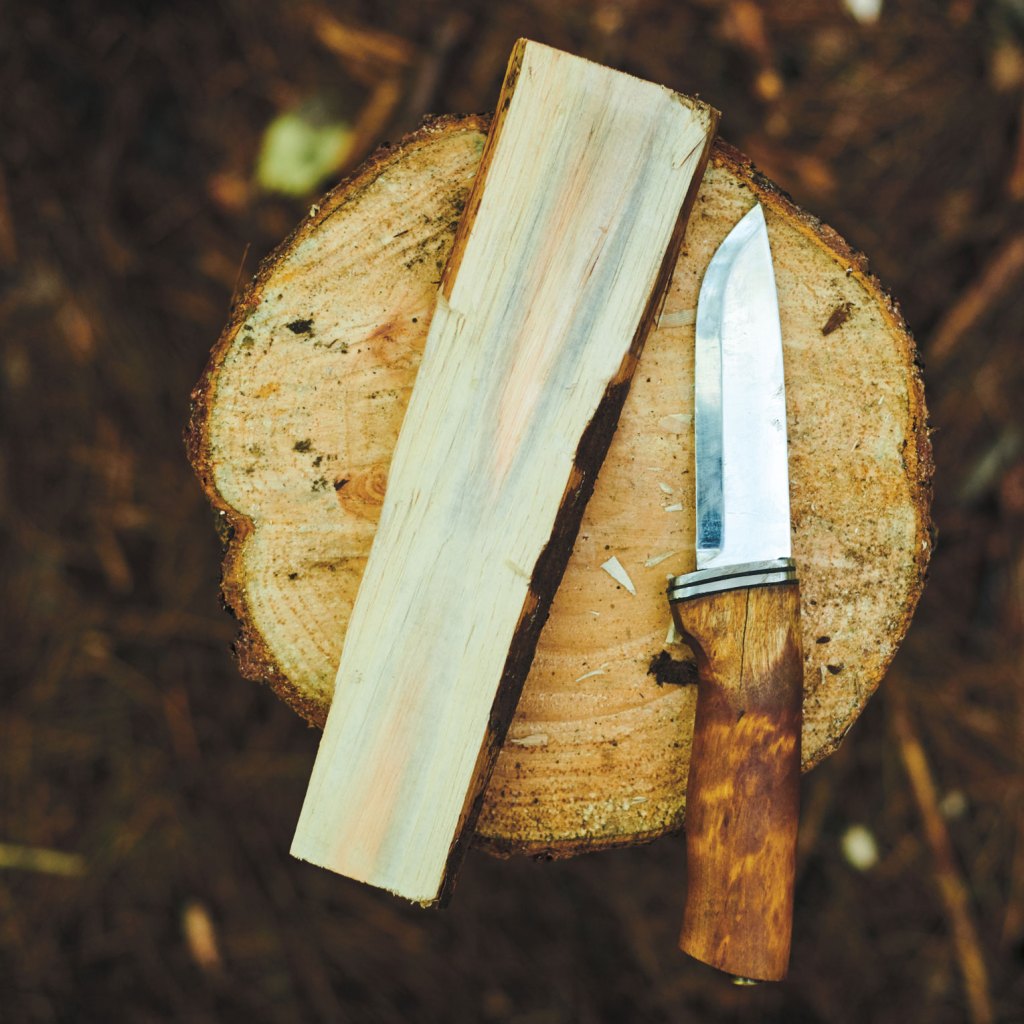
- Use the batoning technique (complete details in Wilderness Adventure Camp) to create a blank—the flat form that will become your spoon. The blank shown here is 1 foot long × 2 inches wide × 1 inch thick.
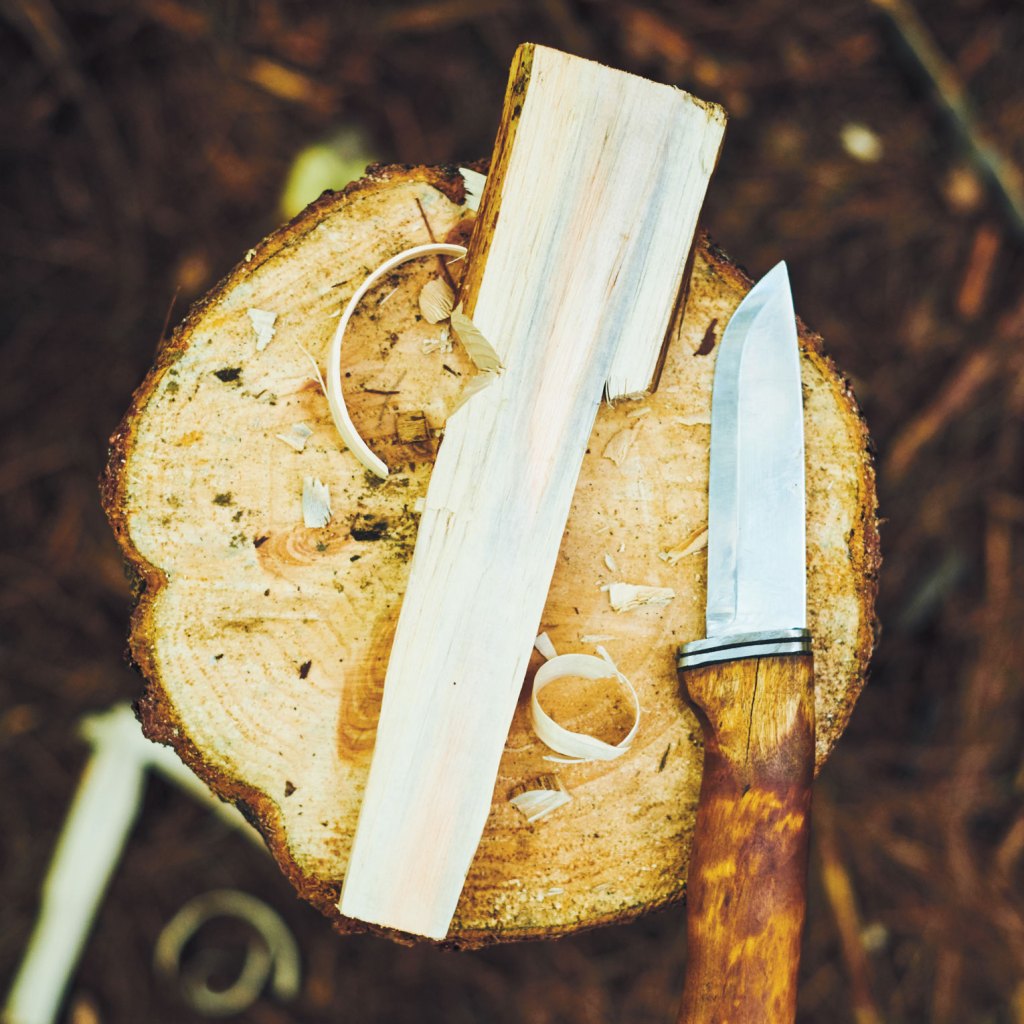
- Carve a notch into each side of the blank, about a third of the way from one end. Using the notches as stop cuts, carve down the longer sides of the blank. This will be the handle.
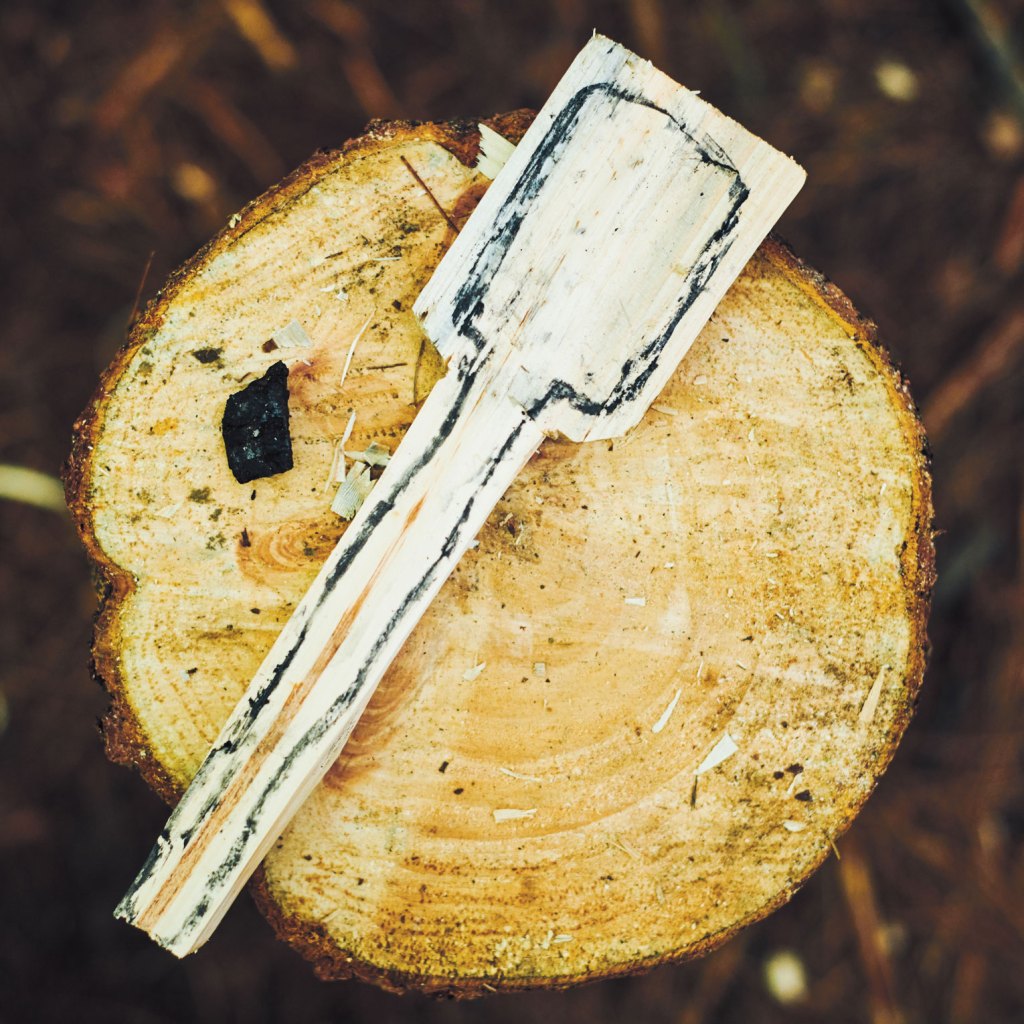
- Draw a spoon shape on the blank with a pencil or piece of charcoal from your fire.
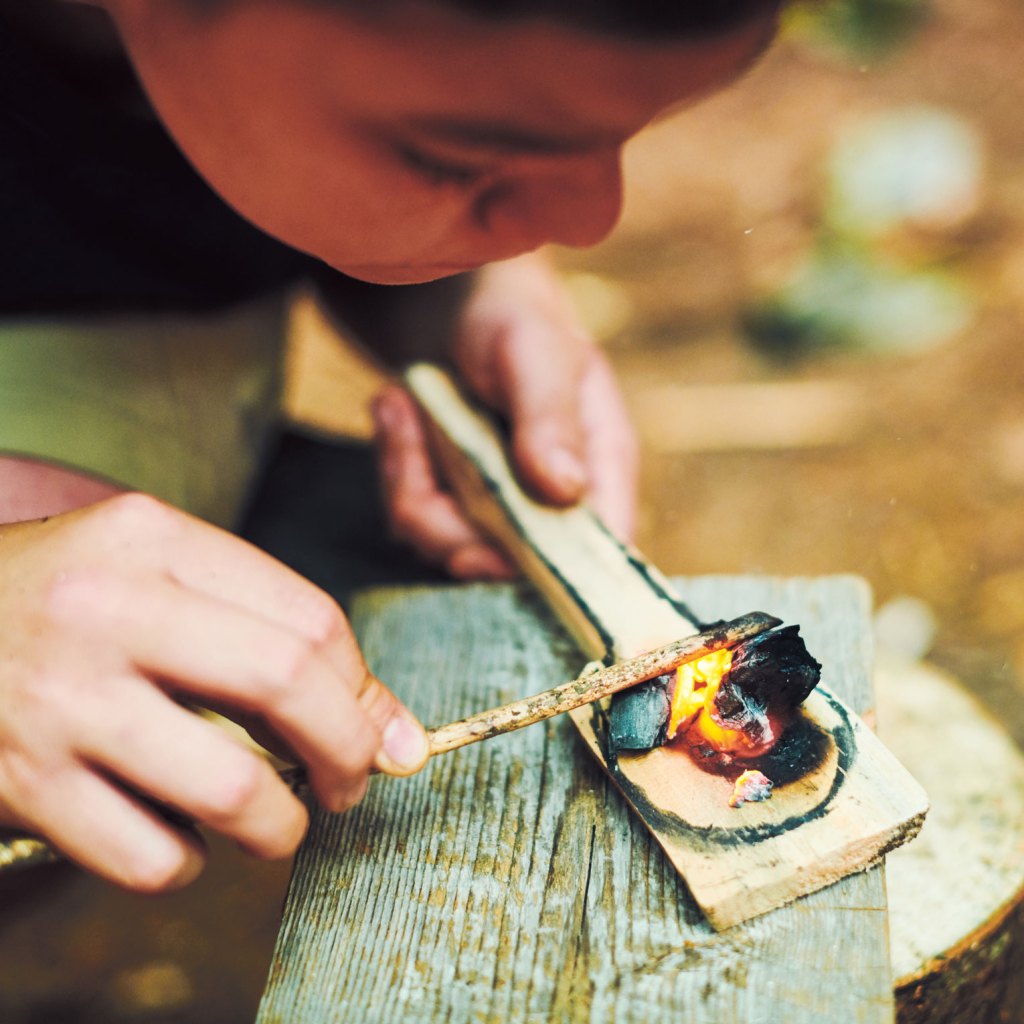
- Carefully place an ember in the area you outlined for the bowl, using tongs or green sticks. Hold the ember in place and watch carefully so it doesn’t burn too deeply.
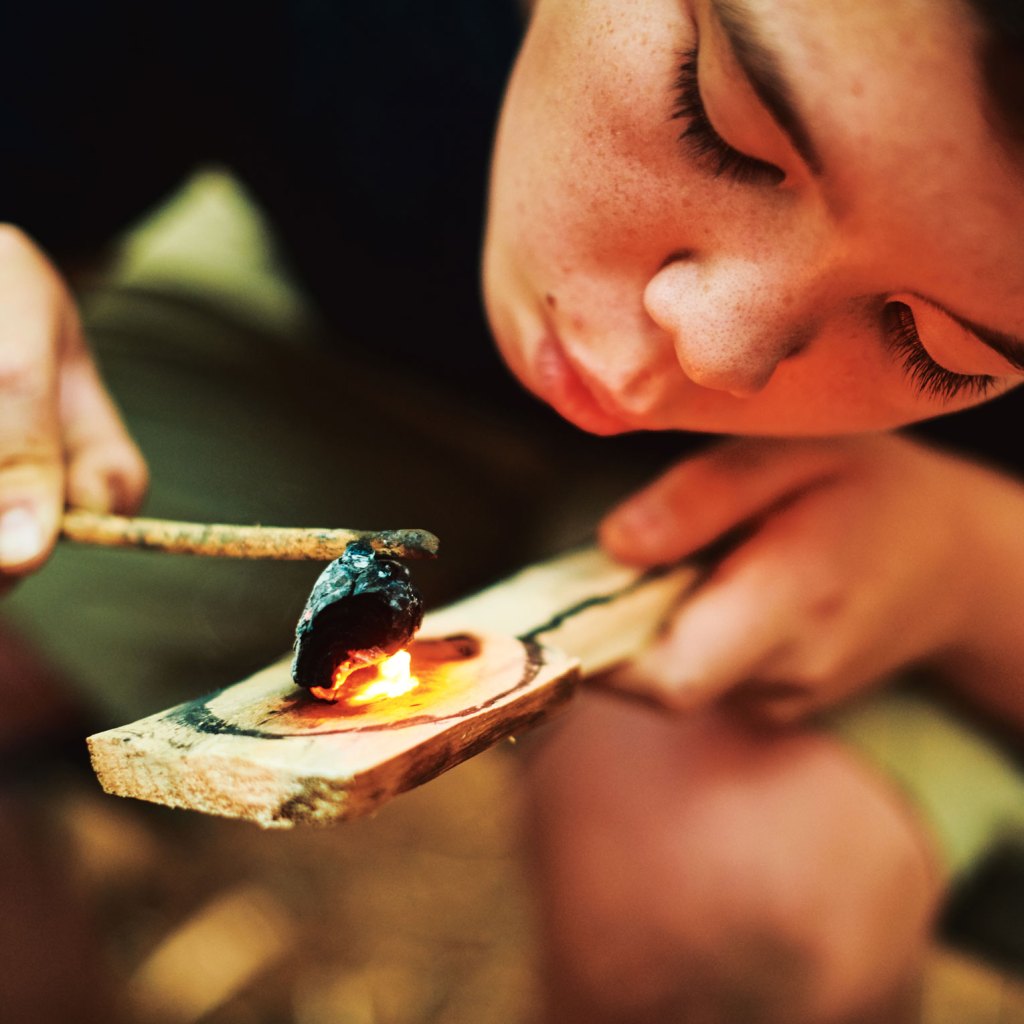
- Blow gently on the ember but not hard enough to make it flame up. You want a shallow layer of char over the whole bowl area. You may need several embers. Make sure you return them all to the fire when you are done with them.
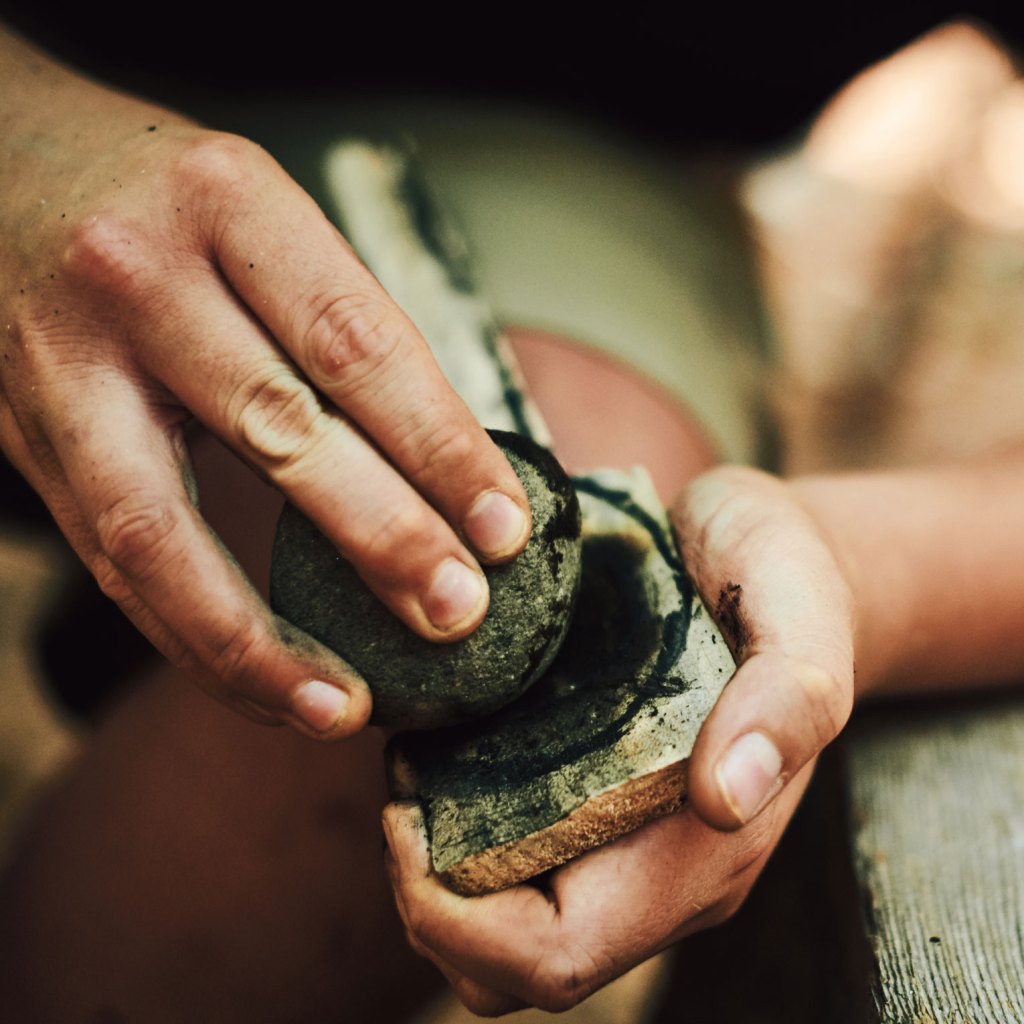
- Let the charred area cool, then scrape out the burned parts with the stone until you uncover a fresh layer of wood. Repeat as needed until the bowl of your spoon is as deep as you want it to be.
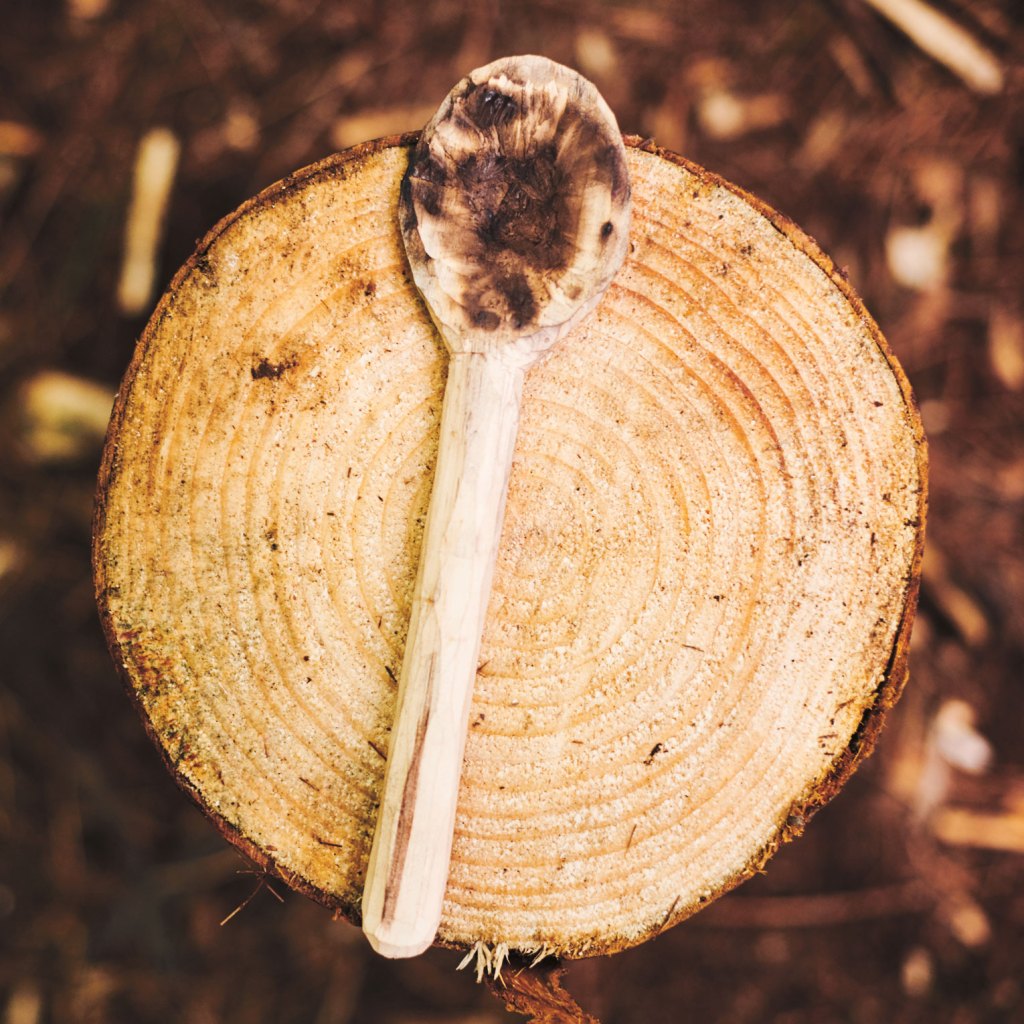
- Use your knife to round off and smooth the bowl of the spoon. Carve the handle until it is smooth and comfortable to hold in your hand.
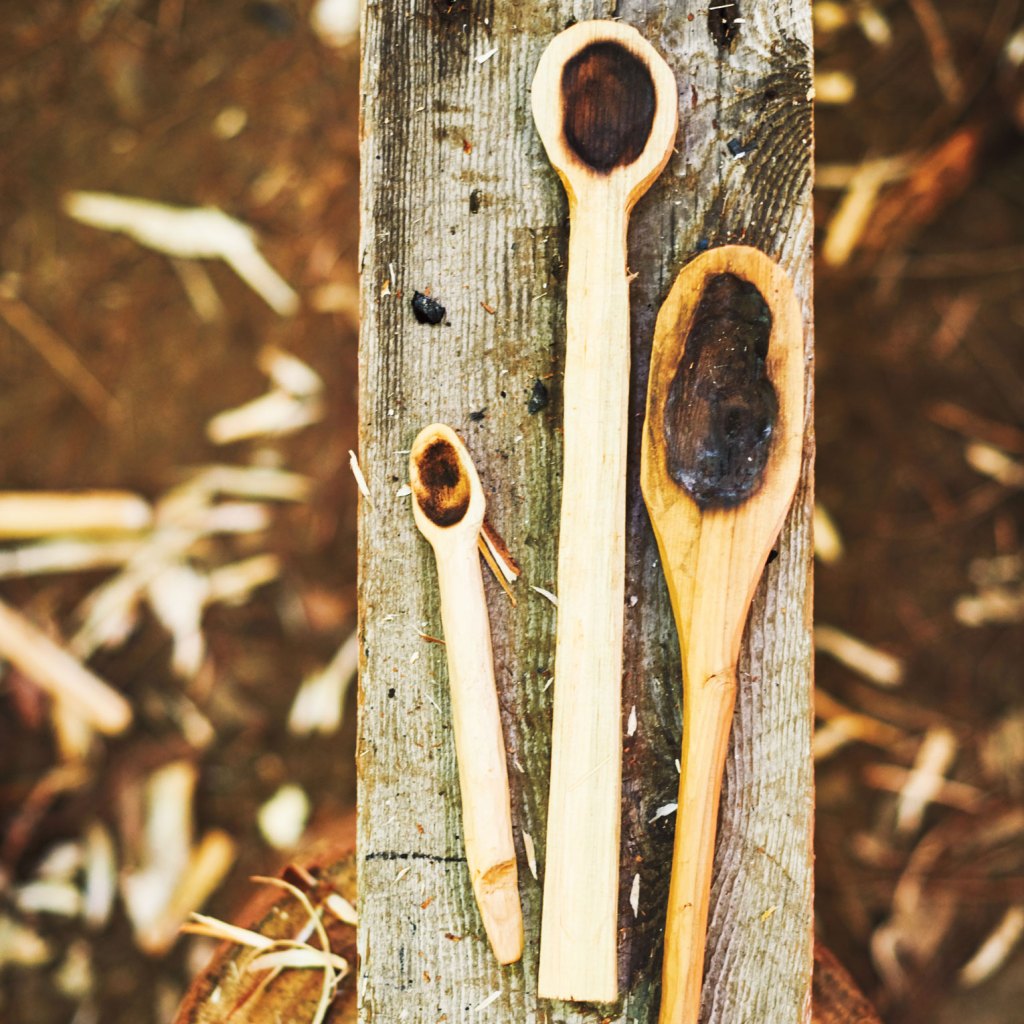
You can make a larger spoon for stirring and serving food and a smaller one for eating. Last but not least, enjoy your dinner with the satisfaction of knowing you made your own wooden spoon.
Text excerpted and adapted from Wilderness Adventure Camp © Frank Grindrod.

Related Books
-
Backyard Adventure
-
Backpack Explorer: Discovering Trees
-
Backpack Explorer: On the Nature Trail
-
Backpack Explorer: Bird Watch
-
Wildlife Ranger Action Guide